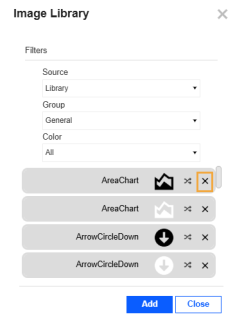
Report designers use the Image Library to manage the full list of images. These images can be displayed in the navigation bar and page bar and some Content Blocks.
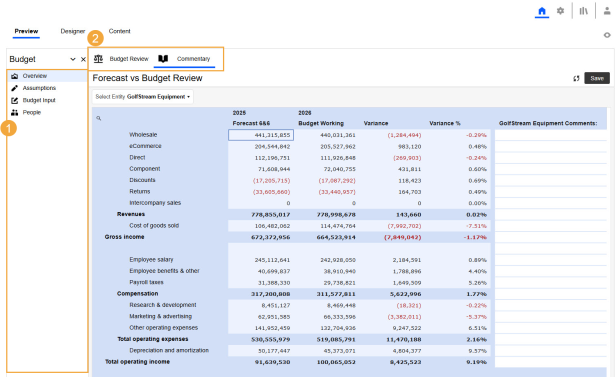
-
Navigation bar
-
Page bar
Each image has a black version and a white version. On the Colors page, you can change the ImageColor option to dynamically change the color of the images in the navigation bar and page bar. See Colors. When you add or replace images in the library, if you want to retain that functionality, include both a black version and a white version.
There are security requirements for the Image Library. See Genesis Designer and Image Library.
Use the Source, Group, and Color drop-down menus to filter the list of images.
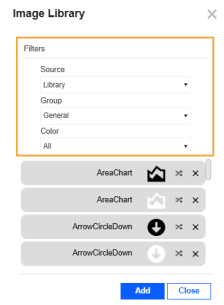
In the Image Library, you can add, replace, and delete images.
Add an Image
-
Click the Image Library button.
-
In the Image Library dialog box, set the Source, Group, and Color drop-down menus to selections for the image to add. These selections will be used as the filter categories for the image. They cannot be set to All.
-
Click the Add button.
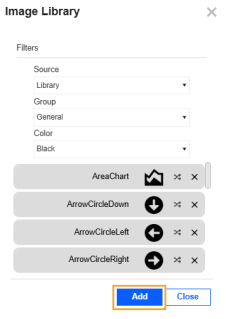
-
Select the .png image, and click the Open button.
Replace an Image
Replacing an image in the library will update it everywhere it displays in the instance.
-
Click the Image Library button.
-
(Optional) In the Image Library dialog box, use the Source, Group, and Color drop-down menus to filter the list.
-
Next to the image, click the Change the Selected Image button.
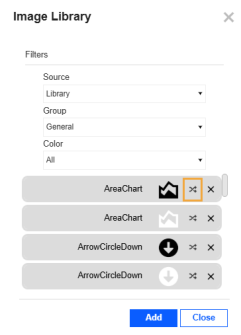
-
Select the .png image, and click the Open button.
Delete an Image
-
Click the Image Library button.
-
(Optional) In the Image Library dialog box, use the Source, Group, and Color drop-down menus to filter the list.
-
Next to the image, click the Delete the Selected Image button.
